Well it seems that it has been the better part of a year since I created this account. After all this time, I think I finally have something to write about.
At the beginning of this year, I started two new pursuits. First, I enrolled myself in a gemology class at the International School of Gemology (I'll put up a link later for reference) and second, I wanted to make my own pretties so I started to learn how to facet gemstones. It is about this latter activity that I think I will write about.
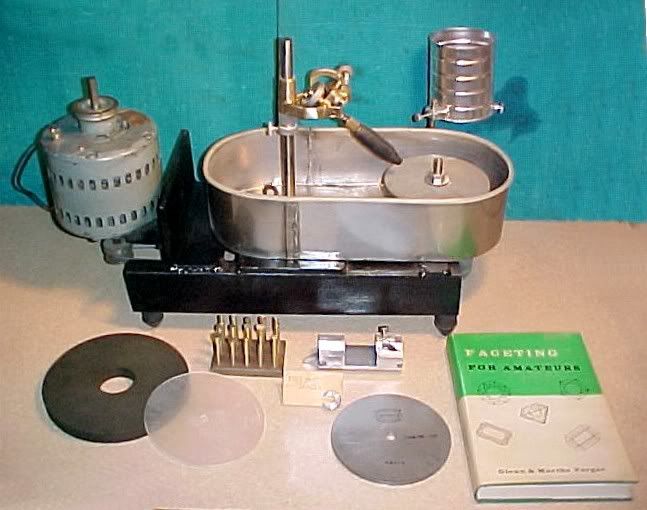
I guess I should start off with a picture of my faceting machine. Most of it seems to be home made, but the important bits were manufactured by a company called Lee Lapidaries. Unfortunately, I think that they are no longer in business which makes getting parts somewhat problematic.
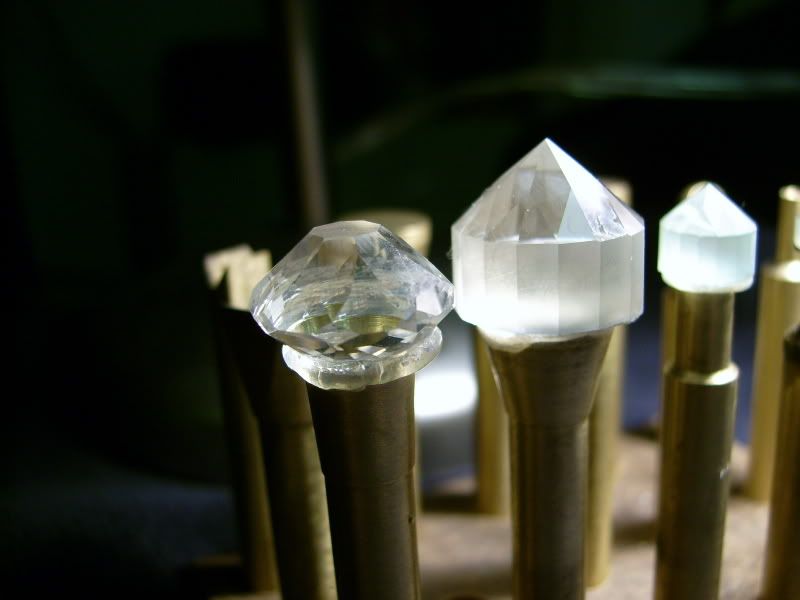
I plan on doing some cutting and pasting from posts I have made on various threads to try to save me a little typing. One of the questions posed to me was "What kind of stock do I have to work with?" Here is the picture I supplied as an answer:
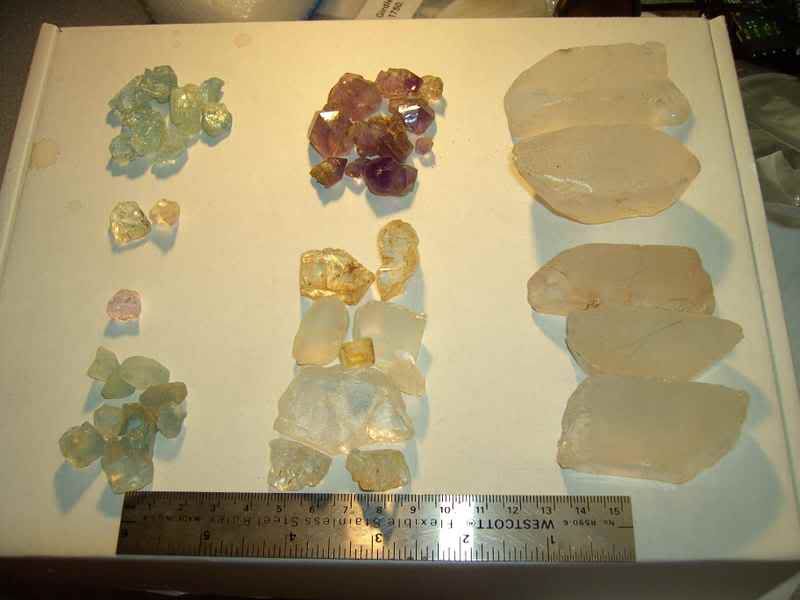
The left column is all beryl. Beryl can be known as a lot of differnt stones depending on what color the beryl is. Simplified, green beryl is commonly known as emerald, blue beryl is called aquamarine, pink beryl is called morganite, yellow/gold beryl is called helidor and clear beryl is known as goshenite. I have a lot of that to work with since I was able to buy several kilos of it; and even though most of it is not of facetable quality, there is enough that is to give me a pretty good selection. In the top center column are some amethyst points and underneath those are some topaz. Like the beryl, I was able to buy a large quantity of topaz and thus had ~20 pounds to go through to find facetable stuff. The last column is my stash of YAG. I have some sapphires, garnets, tourmaline and a bunch of other stuff on hand to try but nothing in the quantity of the beryl and topaz.
(YAG, since it is not that well known stands for Yttrium Aluminium Garnet and is a synthetic stone commonly used in medical laser applications such as tattoo and hair removal.)
Next are a few pictures of my first faceting projects. Note that these are all only the pavillions (bottoms) of the gemstones cut. This is because of two factors: At the time these pictures were taken, I was still waiting on polishing supplies and, more importantly, the attachment that allowed me to cut the final, top (table) facet. I mentioned a bit earlier about the difficulty of getting parts for this faceting machine, and the table cutter was one of those parts. I was fortunate enough to be put in contact with someone who used to be a percision machinist for Lee Lapidaries and he was able to fabricate for me a table cutting accessory as well as the all-important 96-tooth index gear. (Just for reference, here is are pictures of my 64-index gear:)
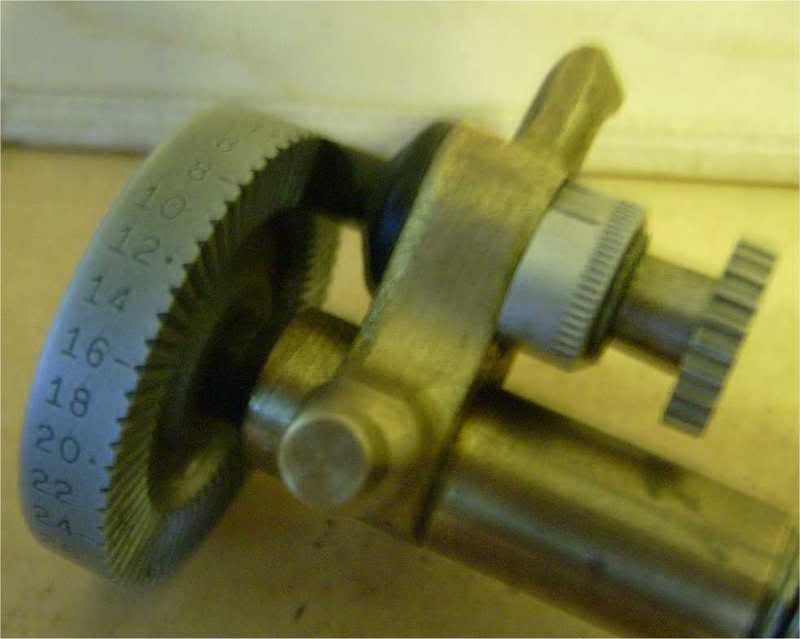
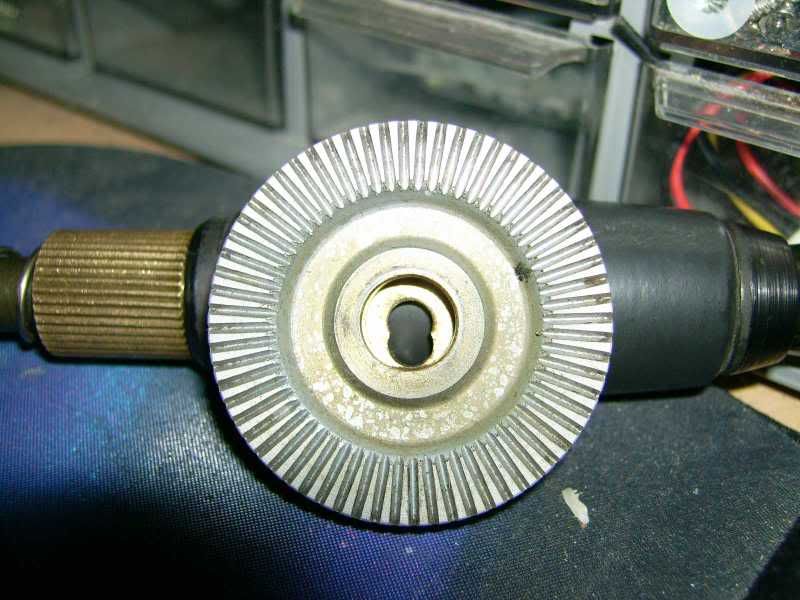
Thank goodness...the 96-gear is the bread and butter gear for a faceting machine. It allows for creation of 3,4,6,8,12,16-sided etc. gemstones.
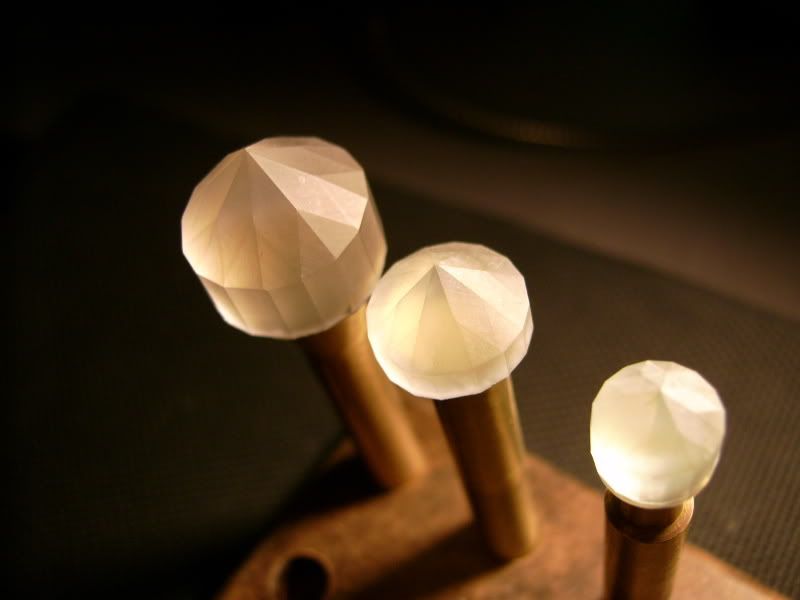
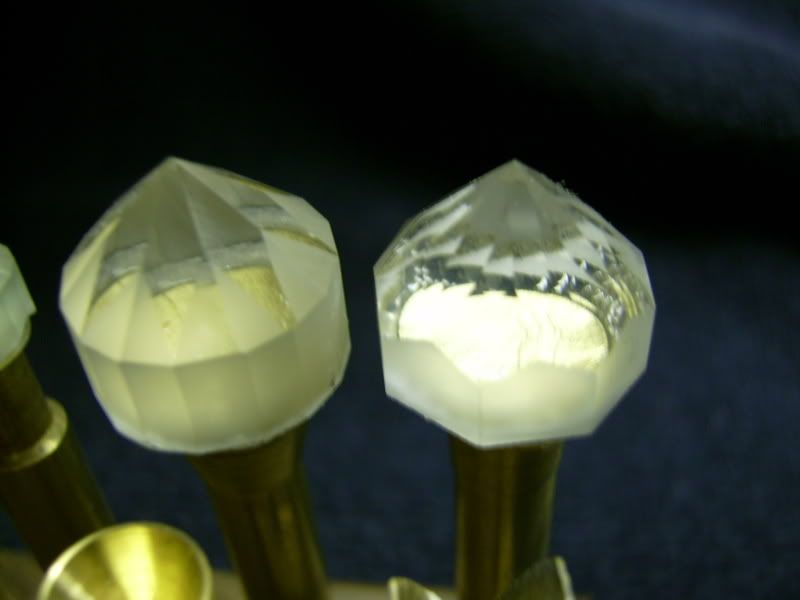
These are the pavillion sides of a Standard Round Brilliant design. The biggest is a YAG and the remainder are all beryl.

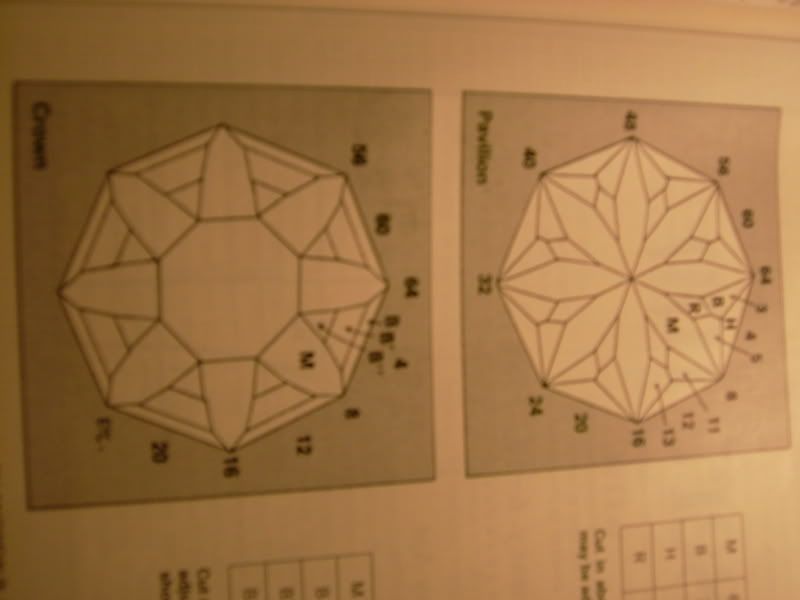
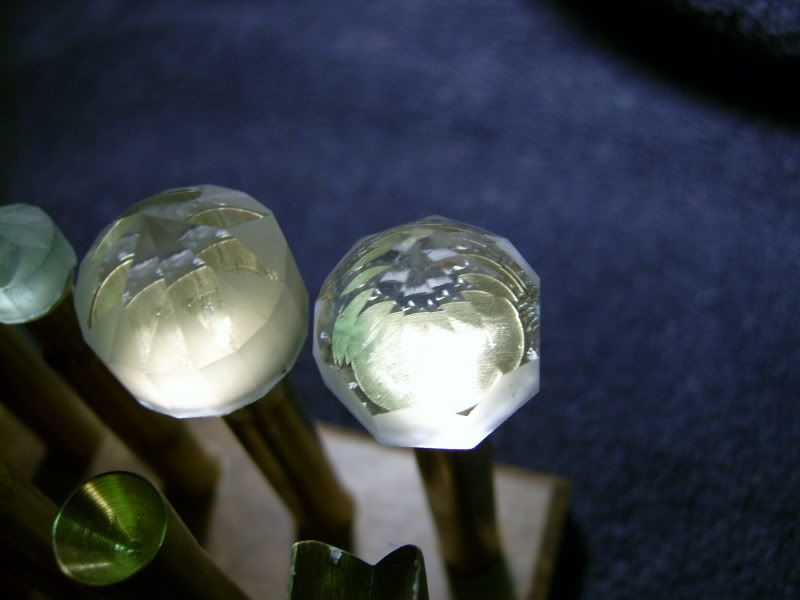
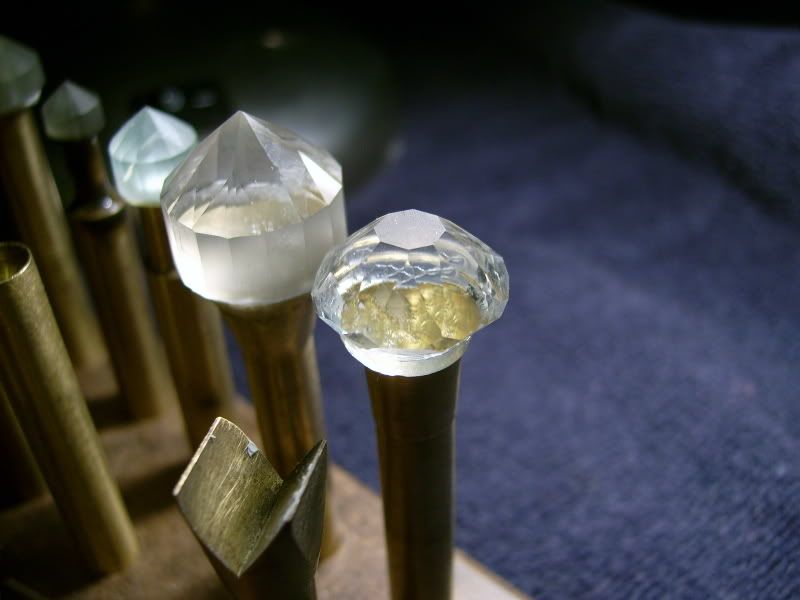
Since I was still waiting on my table-cutting accessory, I decided I wanted to do a design other than a Standard Round Brilliant. I happened upon a design called "Rocket 88" in an old
Lapidary Journal magazine and thought it would be a fun project. Here is a picture from the magazine of the design:
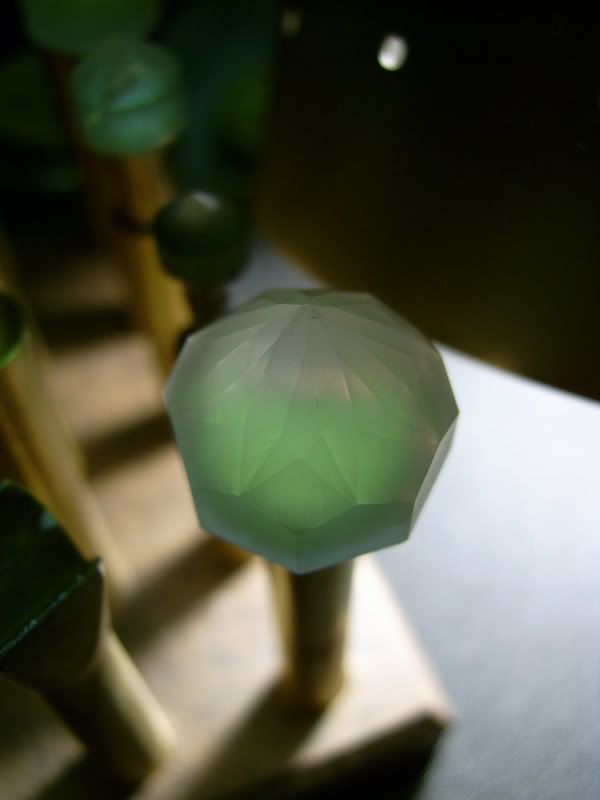
And here are the results. The green coloring is false, by the way. Something about the lighting when I took the shot.

I finally got my polishing equipment and the first one I wanted to complete was the Rocket 88. My very first polished facets looked awesome.
Soon, I had the whole pavillion polished,
transferred to a new dop, cut the top and polished it.
Ugh...Still no table-cutter in my hand by this point. I had a long wait before I would be able to actually finish a stone. It was more than a month, in fact, before I was able to actually complete my very first gemstone.
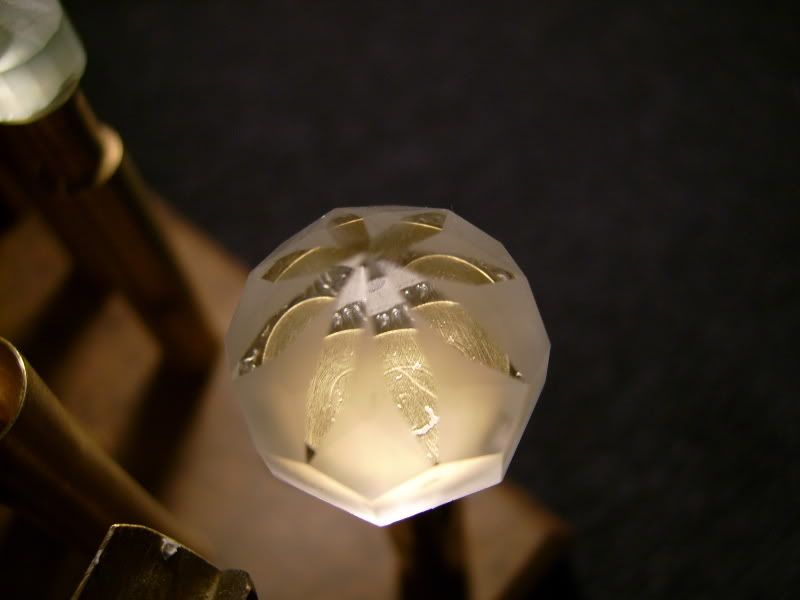
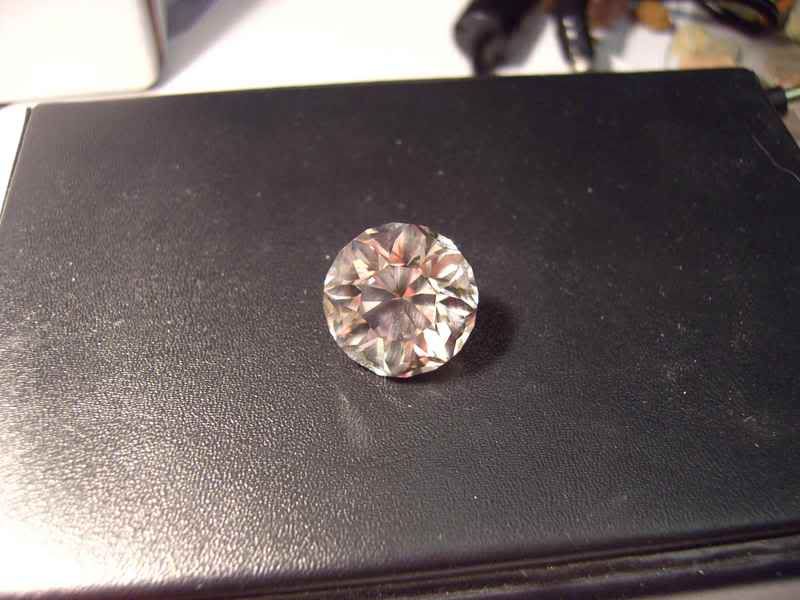
When my table-cuttter finally arrived, I couldn't wait to finish a gemstone; and I chose the Rocket 88 to be the first. Below are a couple of pictures of the completed Rocket 88. As you can see, there are some scratches left on the stone where I polished less dilligently than I had thought. Oh well...I am keeping it just as it is as a lesson on how I
don't want my gemstones to turn out.
It's vital statistics are:
19.2 carats
17mm diameter
13.5mm high
I haven't taken any pictures of the other beryls that I have completed from the first picture, but that doesn't mean I haven't been busy. I bought a book to try to learn the meet point faceting technique and here are some results from those attempts:
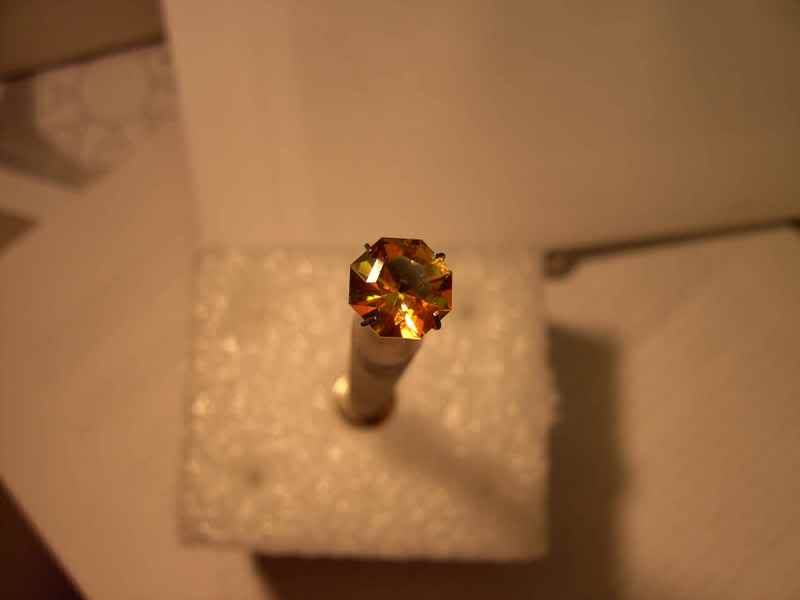
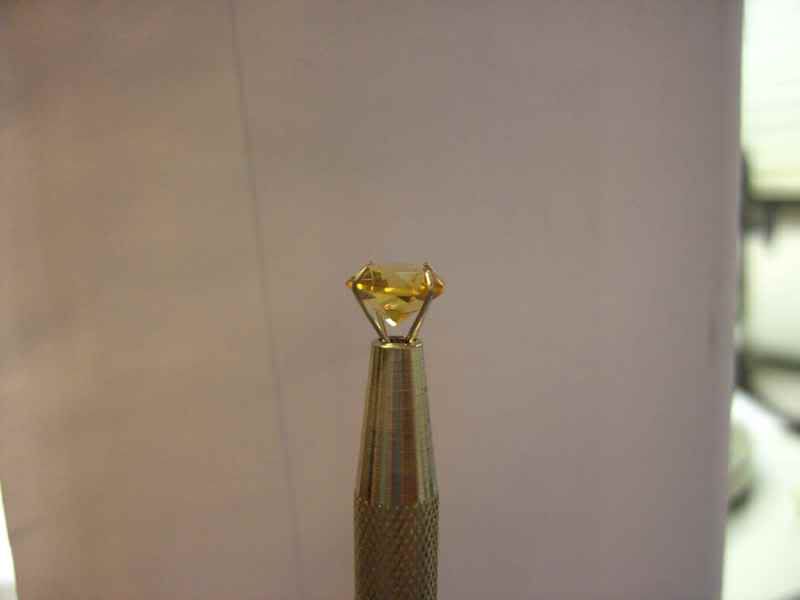
First is a citrine cut in an Easy 8 design.
1.6 carats
8mm diameter
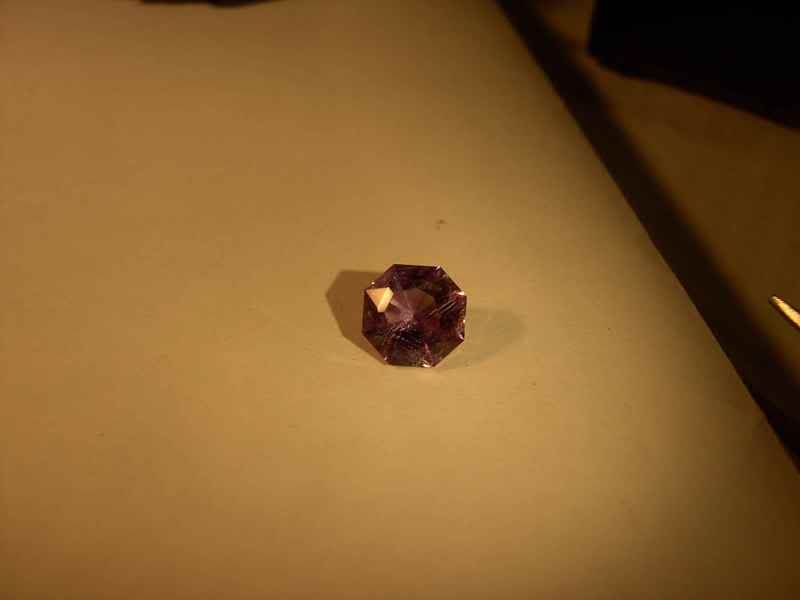
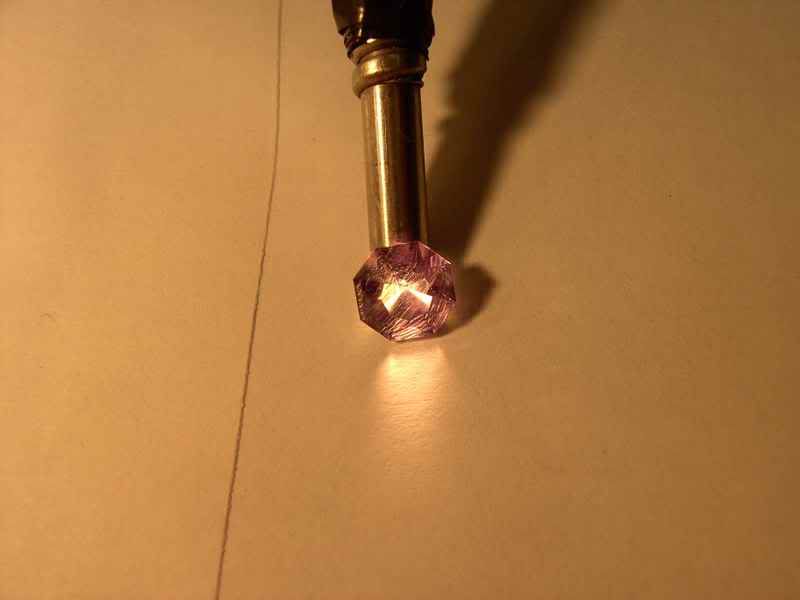
And an amethyst in the same design:
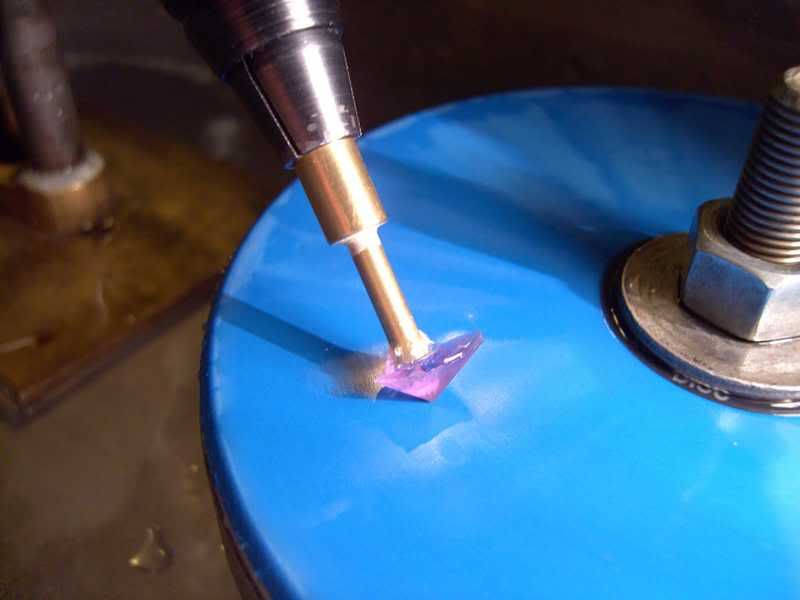
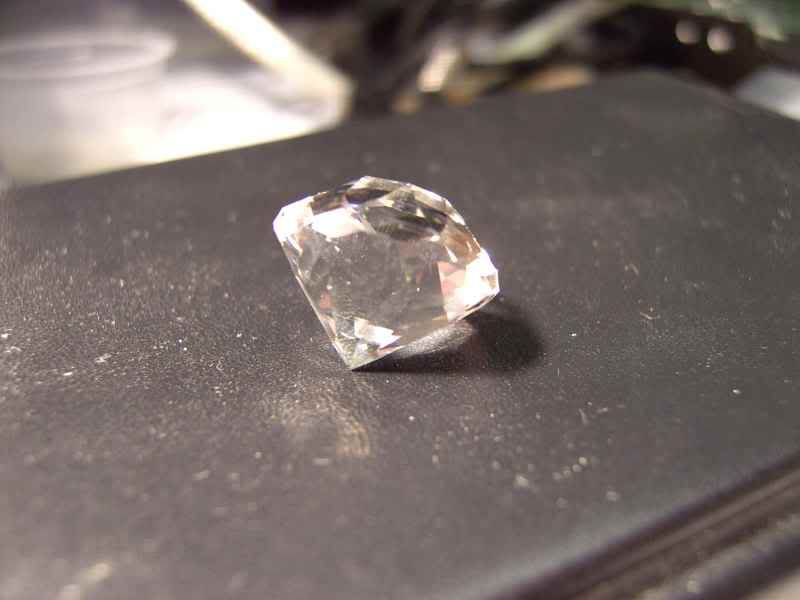
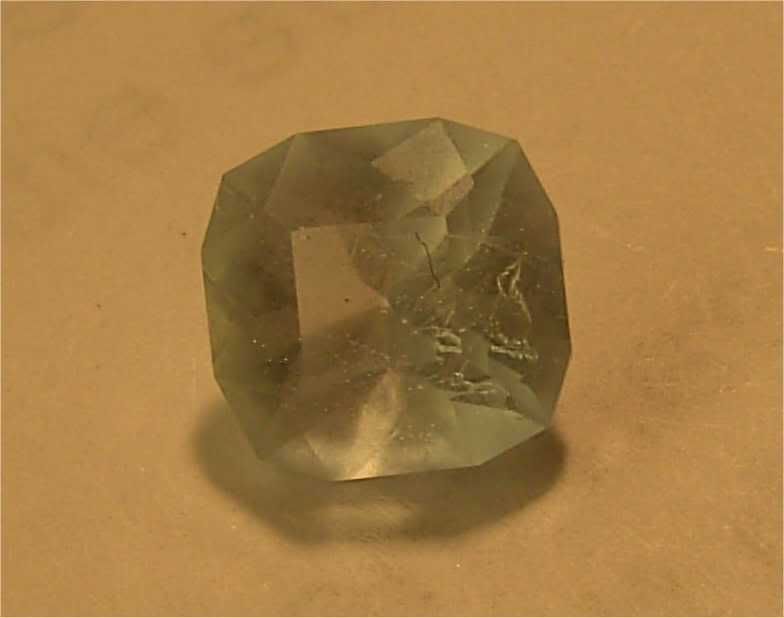
The next lesson in the book was to cut a cushion cut. I picked out a pretty blue beryl (aquamarineish, I guess you could say). After I finally finished it, I was anxious to see the finished product. A little too anxious, you could say. In my impatience to remove the stone from the dop stick, I put too much pressure on it. When I heard the ~
CRACK~, I sincerely hoped that it was the sound of the dried glue giving way. Alas, it was not to be so and the result was that I took off some of the pavillion along a cleavage plane. Even though it is possible for me to recut the stone, I think I will leave it as it is right now as an object lesson to not be too impatient and let the chemicals do their work.
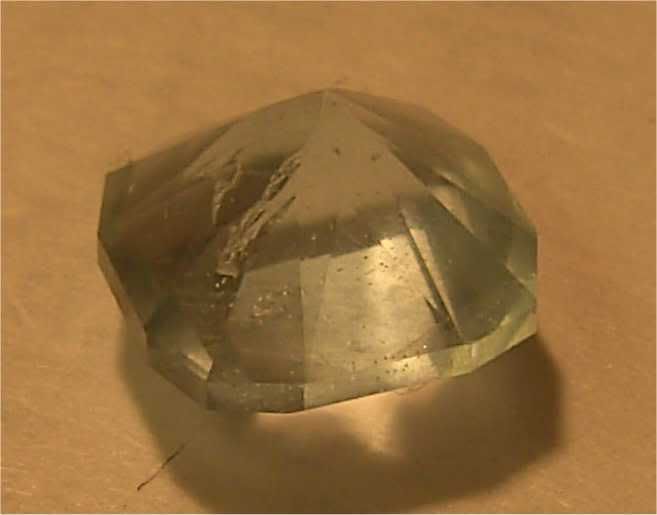
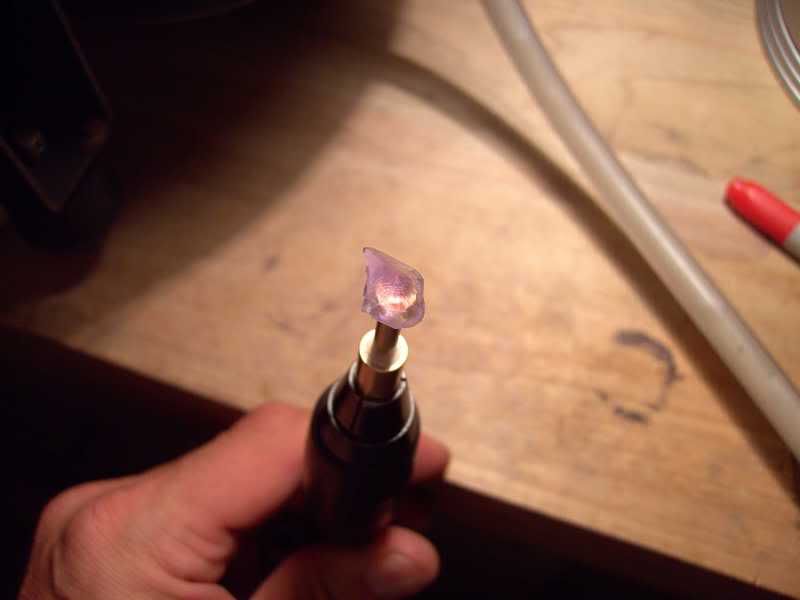
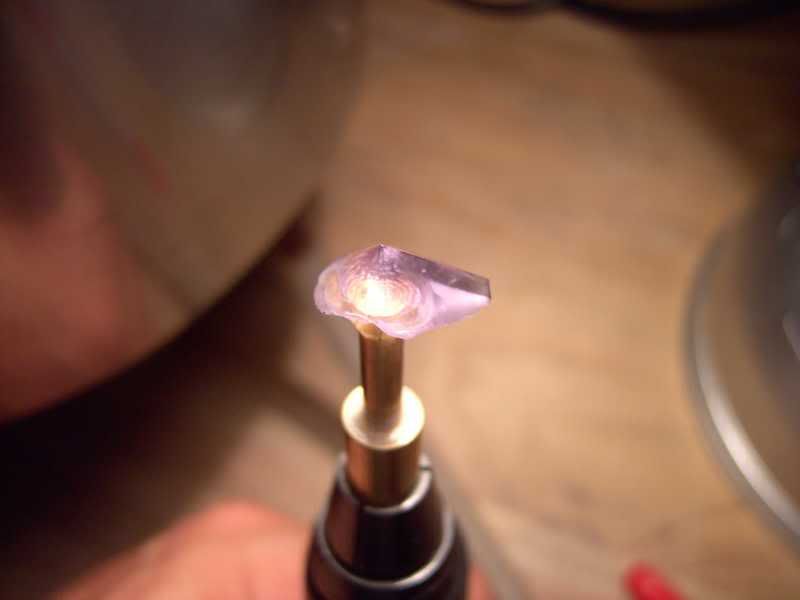
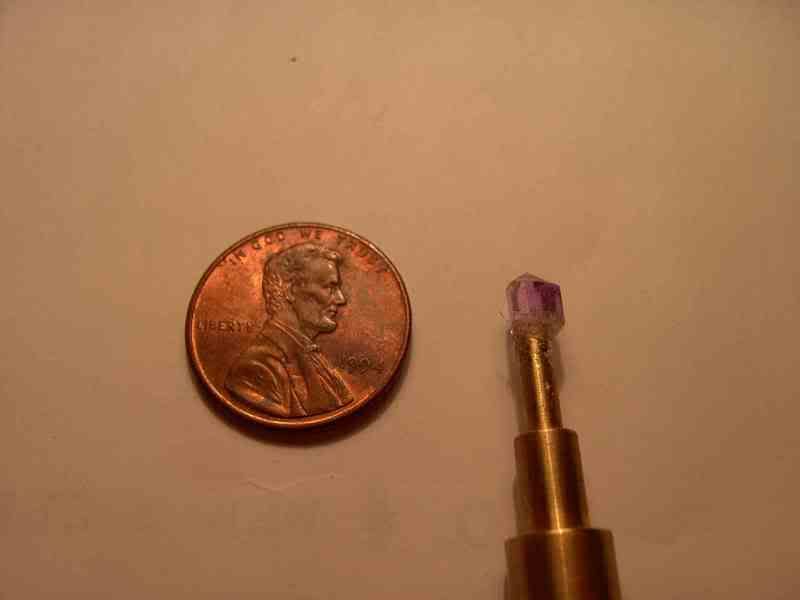
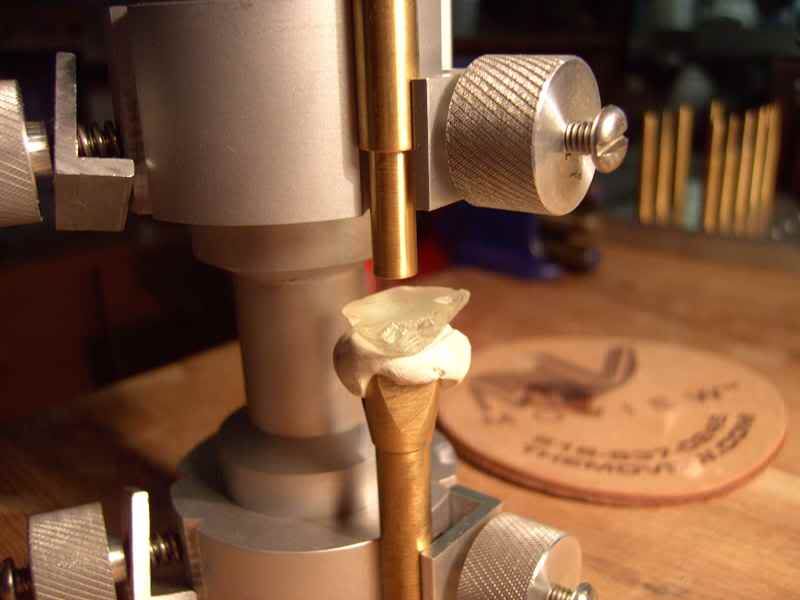
My next cushion cut fared much better since I let it soak in the acetone long enough to dissolve the glue adequately. Oh...since I am on that stone now, let me show you a picture of that very stone in preparation to be dopped. The stone is a corner of the YAG I trimmed off when I was preparing the Rocket 88.
Here is what the stone looked like by the time I was done with it:
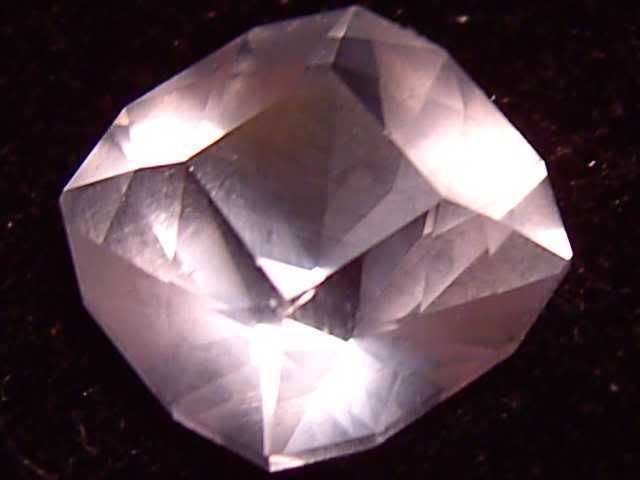
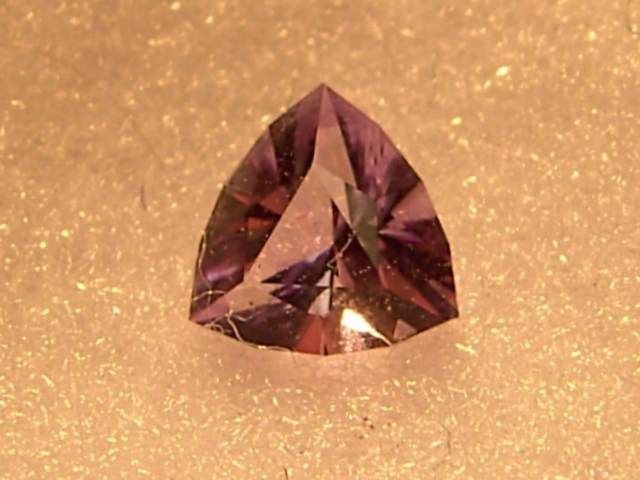
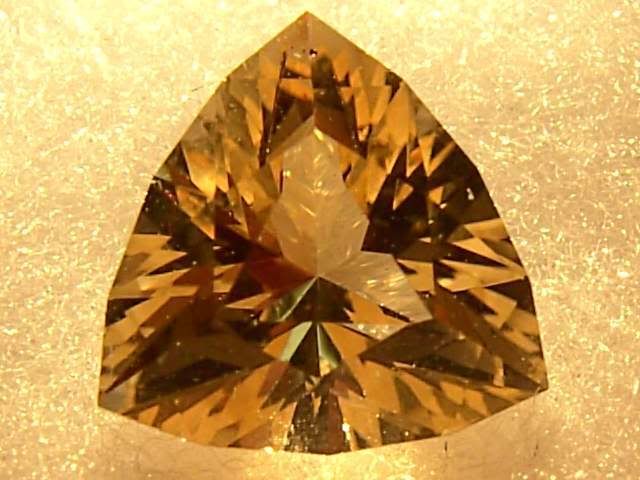
Finally, I have reached the stone I completed last night. It is the other half of the citrine I cut when I made the Easy 8 design. This one I cut into my first trilliant. I think they are a little harder to cut since there are no parallel girdle facets to attach my girdle aligner to and thus I needed to align the stone after transfer by eye. This one turned out really nice and I am quite pleased with it. Especially considering this is only the 9th stone I have ever cut into a gemstone.
1.0 carats
7mm x 7mm x 7mm wide measured from the apex to the middle of the base
4.7mm high
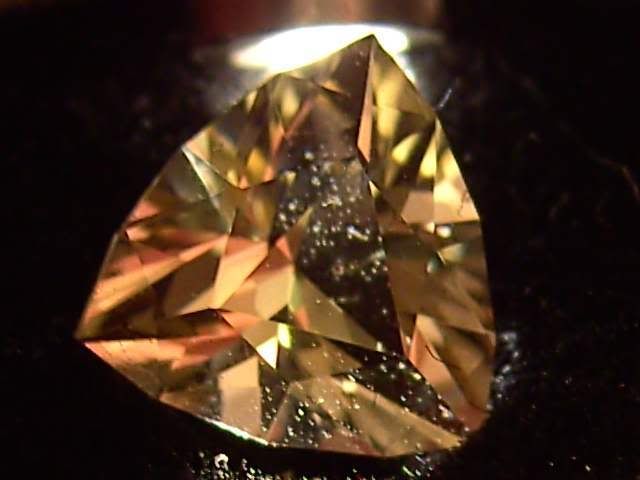
The black background shows a lot of dust, but I like the contrast:
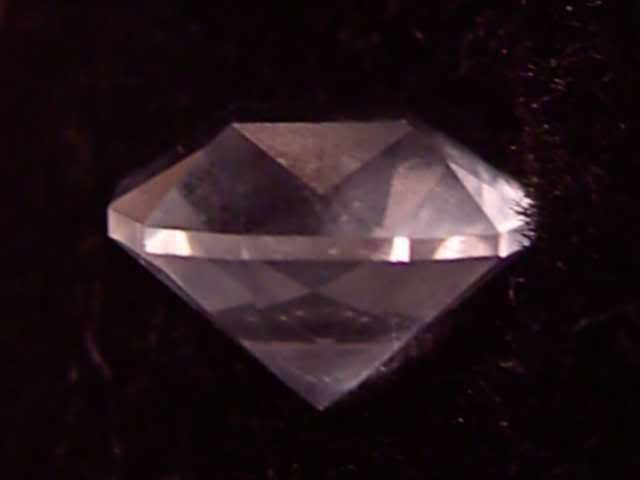
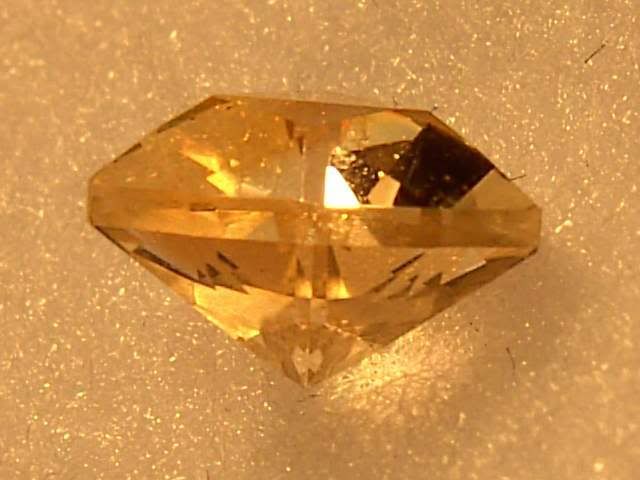
And a side view. The girdle looks unusually thick in the photograph, but does not look that at all in person.
Well...that's it for now. Since I have now posted something worth (to me anyway) writing about, I will try to keep this page updated and check for comments (if there actually are any.)
Thanks for looking!